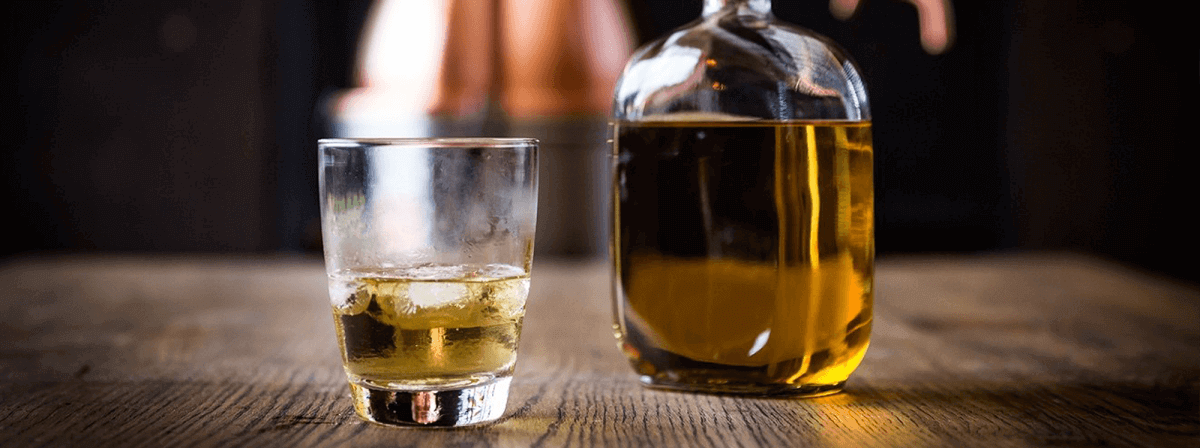
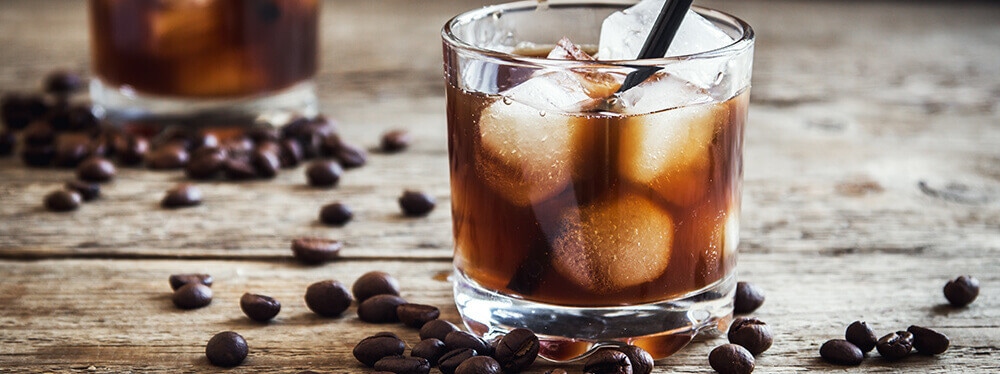
The tutorial below details distilling a Vanilla Coffee Rum and references using the Grainfather Brewing System and the Alembic Pot Still attachment. The Turbo 500 Boiler can be used in place of the Grainfather Brewing System, but be aware that the temperature can't be set or controlled using the Turbo 500 Boiler.
VANILLA COFFEE RUM
The celebration of craft distilling continues here at Still Spirits throughout May as we approach World Whiskey Day. Now that we have established the basics of craft distilling with the Grainfather and the Alembic Pot Still attachment, let’s try a great recipe to put it into practice! The first in this series is our vanilla coffee rum which can be had neat or in your favourite cocktail.
Rum: Rum is produced from the distillation after fermentation of sugar cane/ beet products like molasses, sugar cane syrup and or other sugar cane products
THE WASH
In a stainless steel fermenter, add 4 kg of molasses and 1 kg of brown sugar along with 5 L of hot water. Stir the mixture ensuring it is completely dissolved and then top up to 23 L with water. Be sure to use a food grade molasses that doesn’t contain added sulphates, because while the copper Alembic dome will remove most of these, it is more hassle.
Once your fermenter is filled with 23 L of wash and has cooled to yeast pitching temp, add 3 packets Mangrove Jack's M42 Strong Ale Yeast and allow to ferment at room temperature for three weeks.
OG: 1.078 FG: 1.008 ABV: 9.19%
The day before you are planning to distil, degas the wash by stirring it vigorously and then add Part A of Still Spirits Turbo Clear, stir and wait an hour before adding part B and gently stirring into the top of the wash. Allow to sit for 24 hours.
Tip: You'll need to transfer the wash to the Grainfather once fermentation is complete. To avoid disturbing the yeast and sediment on the bottom of the fermenter, consider moving it to the easiest place possible for transferring.
Once your wash has been cleared, use the tap on the fermenter to run the wash into the Grainfather, add 5 capfuls of Still Spirits Distilling Conditioner, Ceramic Boiling Chips and set up the Alembic Dome.
STRIPPING RUN
Once the alembic dome is set up with your spirit collection vessel ready, turn on the water and adjust the water flow rate to just over 2.5L per min. Once flow is correct, turn off the water and turn on the Grainfather. Set the temperature to 100°C (212°F) and start heating.
By holding down the heat button you can then adjust the power level to 65% power. This does make the process take a bit longer, but some find it produces a noticeably better product. Once the temperature on the alembic reaches 40°C (104°F), turn on the water and check that it is still running at just over 2.5L per min.
For this run, collect all the spirit, which will start at about 65% ABV and will slowly progress down to 30% ABV. At this point you may like to turn off the Grainfather, as some people find the quality starts to deteriorate after this point.
You should now have approximately 4 L of 60% ABV spirit.
SPIRIT RUN
After cleaning out your Grainfather, add the spirit from your stripping run and boiling chips back in and top up your Grainfather to 10 L with filtered water. Fill your Still Spirits Botanical Basket with 30 g fresh coffee beans and three vanilla pods.
Once the alembic dome is set up with five 200 ml collection vessels and a 5 L vessel, turn on the water and adjust the water flow rate to just over 2.5 L per min. Turn off the water at this point and turn on the Grainfather. Set the temperature to 100°C (212°F) and started heating. By holding down the "Heat" button, you can adjust the power level to 65%..
FORESHOTS
Once the temperature probe reaches 55°C (131°F) turn on the cold tap water. When the distillate begins to come out, you can collect the foreshots which are the more harmful components of the heads and are typically the first 200 ml (6.8 US fl oz). This section contains the most harmful compounds present in the wash and should be discarded. NOTE: the foreshots section is 200 ml (6.8 US fl oz) per stripping run distillate.
HEADS
After the foreshots are over you will be entering the heads section of distilling. This contains a lot of the lower boiling point components as well as ethanol. Collect these into separate small containers, and once distilling is complete decide whether they are suitable for the final Rum or not when blending the heads and tails into the hearts section.
Start collecting the heads in separate containers with a volume of around 150 ml (5 US fl oz), putting them to the side once full. Label each filled cup with a number in the order it comes out of the still, e.g. 1 for the first cup, 2 for the second cup and so on. Once the temperature reaches around 83-85°C (181 – 185°F) the heads section is complete and it is time to start collecting the hearts.
The volume of these containers varies depending on the volume of liquid for the spirit run and personal preference. A good guideline is around 150 ml (5 US fl oz)/stripping run - this gives a good balance between ease of distilling and ability to blend well later on.
HEARTS
Place a larger vessel under the output tube and start collecting all of the hearts in the one vessel. This middle part is good spirit so does not need to be separated into containers. Continue collecting the hearts until the spirit is coming out at around 55% ABV. Once the still temperature reaches 90°C (194°F) the hearts section is complete, and it is time to collect the tails. The hearts collected in the 9 middle of the spirit run are the best part of the spirit and will form the base for which to blend with after distilling is complete.
TAILS
Start collecting the tails in separate containers, putting them to the side once full, just as was done when collecting the heads of the spirit. Label each filled cup with a number in the order it comes out of the still (like for the heads). Once the still temperature is around 93-95°C (199 – 203°F), the tails collection is complete. At this temperature, the good part of the tails has all been collected.
It is now time to start collecting the ends of the tails. Place a larger vessel under the still and collect the last of the tails in a larger vessel until the temperature is around 98°C (208°F) or the output is below 20% ABV, then turn off the boiler and disconnect it from the power outlet. This last part of the tails is not used in final spirit but can be kept to increase the yield for future stripping runs. Wait for the boiler contents to cool to a safe temperature before discarding the contents. Clean the boiler, dome top and condenser thoroughly and rinse well.
BLENDING
What you have collected is the heads, the hearts, the tails, and the final of the tails. The heads and tails are both in multiple separate containers while the hearts are in one large container. The reason we suggest collecting the heads and tails in sample fractions is that not all of the heads and tails will be good to use and mix in with the hearts. Normally the last few cups of the heads (closest to the hearts) and the first few cups of the tails (closest to the hearts) will be good to add in with the hearts, but you will need to taste each sample container and choose what you want to add into your mix.
Work your way through tasting and smelling each of the heads and tails fractions and add each container you are happy with to your hearts container. You do not necessarily have to add the entire container. The heads of the spirit generally add the harsher flavours to the spirit but contain a large percentage of ethanol, whereas the tails contain a lot of the flavours but a small percentage of ethanol. Add any fraction samples from the heads and tails that you are not happy with to the second large container with the final part of the tails.
This large tails container, called the ‘feints’, is not necessarily bad but it has not been refined enough yet to use in the final spirit. This should be saved and can be added to the next stripping run you do with your next batch of Rum so that it is not all wasted. Alternatively, these feints can be collected from multiple Rum batches and when you have enough, doing a spirit run of all feints can lead to a delicious Rum.
AGEING
Dilute the final collected spirit down to 50% ABV with filtered or distilled water in a large 5 L (1.3 US Gal) glass jar or demijohn, use an alcoholmeter, hydrometer or refractometer to measure the ABV. There are water calculators online to aid in dilution. Make sure your jar is large enough and still has more space as you'll need to add more water to this jar as the ageing process progresses. Add some Still Spirits American Charred Oak Bottle Spirals to your Rum as per the instructions on the spiral pack and leave it in a cold, dark area for the ageing process.
The flavour will begin to extract from the spirals instantly, and after 2 weeks this flavour will be completely extracted. Taste the Rum periodically during the ageing process, the spirals can be removed at any time as to your preferred taste. Leave the spirits to age for 3 weeks in a cool dark place. After 3 weeks dilute spirit with filtered or distilled water to 47% ABV.
After 6 weeks, dilute again with filtered or distilled water to 44% ABV, and after 9 weeks dilute it further to 40% ABV. - Adding the water slowly during the ageing period gives the Rum a better, more rounded flavour than adding it all at once. Taste the Rum periodically during the ageing process - it should be ready after a minimum of 2 months. The more heads and tails that were included in the blending process typically means the Rum will need to age for longer.