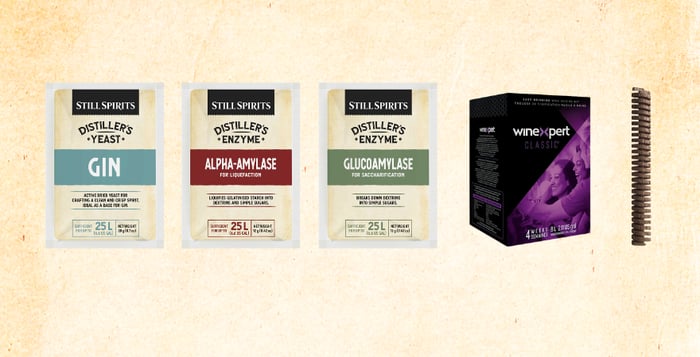
Embark on a journey of home distillation with our guide to crafting exquisite brandy from a wine kit. Whether you lean towards the grace of a white wine base or the depth of a red, discover the art of creating your own distinct brandy in the comfort of your home.
Equipment:
-
Stirring Spoon
-
30L fermenter
Ingredients:
-
20-25L batch size wine kit of your choice
-
Turbo Clear (recommended)
Select Your Wine Kit:
1. Choose the wine kit that suits your taste preferences. Whether it's a white wine base for a smoother profile or a red wine base for richer flavours, the choice is yours.
Flavour and Aroma:
White Wine Base: Brandy from a white wine base offers a smoother and lighter character. Expect floral, fruity, and citrusy notes with a subtle influence from the grape skins.
Red Wine Base: Brandy produced from a red wine base delivers richer, deeper flavours. Tannins from the grape skins contribute to a fuller body, with complex aromas including berry, plum, and sometimes spicy notes.
Colour:
White Wine Base: Brandy from a white wine base tends to have a clear or pale colour, reflecting the absence of pigments from grape skins.
Red Wine Base: Brandy made from red wine often has a golden to amber hue, influenced by pigments extracted from the grape skins during fermentation and ageing.
Aging Potential:
White Wine Base: Brandy from white wine bases may age gracefully due to its lighter structure, developing nuanced flavours during extended maturation in barrels.
Red Wine Base: The robustness of brandy from red wine bases allows for extended ageing, with the spirit acquiring additional complexities from interaction with oak barrels.
Creating Your Wash:
2. Boil 3L (101.44 US fl oz) of water and add it to your temperature-safe fermenter.
3. Add bentonite from your wine kit (if supplied) and the wine kit fruit extract. Maintain a fermenter water temperature of approximately 73°C (163°F).
4. Add Alpha-amylase, stir, and let the mash rest with the lid on for 30 mins. Then add Glucoamylase and let it rest with the lid on for an additional 60 minutes.
5. Top up the fermenter to 20L (5.28 US gal) with cool tap water.
6. Add the yeast once the wash temperature is below 30°C (86°F). Ferment at 20-35°C (68-95°F) for optimal performance.
7. Once the airlock stops bubbling and the specific gravity stabilises for two consecutive days, fermentation is complete. Allow the wash to stand for 1-2 days for remaining solids and yeast to settle. Turbo Clear can expedite the clarification process.
Distillation:
8. You're ready to distil your wash into brandy. Siphon the wash into your still, leaving sediment behind. For the best quality spirit, consider using a pot distilling system like the Alembic Distilling System or the Air Still Pro in pot still mode.
(Note: a reflux distilling system but will not produce optimal results, remove saddles from the column to avoid turning your brandy too clean. Refer to the water distillation mode for the T500 distilling system.) Please consult your distillation system's instructions for information.
Ageing Your Brandy:
9. After distillation, you'll have a richly flavoured yet clear, colourless spirit. For optimal results, age your spirit on medium-toast French oak in a demijohn or similar container, adding your spiral. During ageing, regularly taste your brandy until achieving your desired level of oak flavour.
Enjoy!


